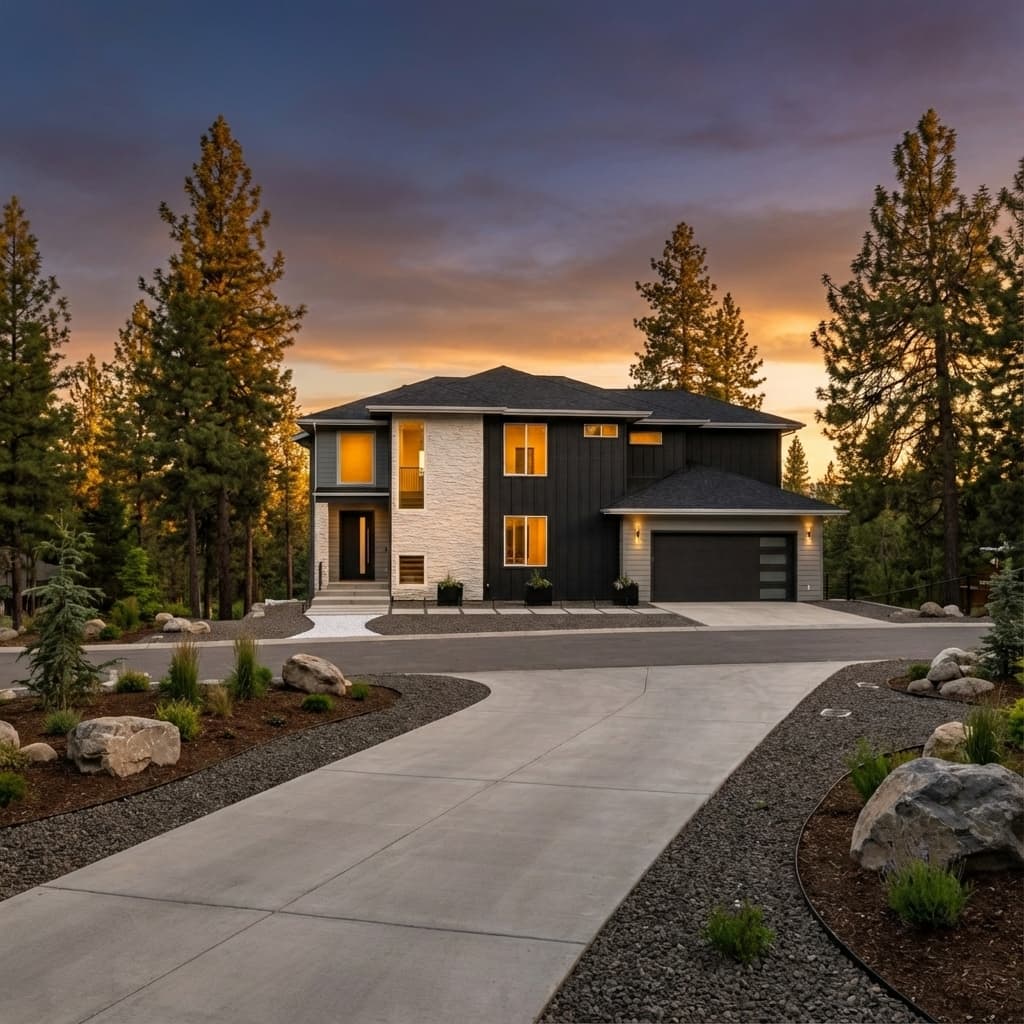
Most homes lost to wildfire are not consumed by a wall of flame — they are ignited by embers, hours before or after the front passes. Here is what actually works: roofing, vents, the first five feet, and the details that cost almost nothing.
There is a persistent mental image of how homes are lost to wildfire: a wall of flame arrives, and the house goes with it. It happens, but it is not the common case.
The common case is embers. Wind-driven embers travel a mile or more ahead of a fire front, land in a gutter full of pine needles or drift through an unscreened attic vent, and smolder. Sometimes the house ignites hours after the front has passed and the smoke has cleared.
That is genuinely good news, because embers are a design problem — and design problems have solutions. Post-fire studies consistently find surviving homes standing among destroyed ones, and the difference is rarely luck. It is roofing, vents, the material in the first five feet, and whether anyone cleaned the gutters.
If you are rebuilding after the Spokane Complex fires, here is what is worth building in.
Start with the roof
The roof is the largest horizontal ember collector on the property.
Class A roof assembly, without exception. Asphalt composition shingles, metal, concrete or clay tile, and certain treated wood products all achieve Class A ratings. Untreated wood shakes do not, and rebuilding with them in the wildland-urban interface is not a defensible choice.
The details matter as much as the material:
- Seal the gaps. Metal and tile roofing leave voids at ridges, hips and eaves where embers lodge. Use bird stops, closure strips, or mortar.
- Metal drip edge and non-combustible flashing at all roof edges.
- Non-combustible gutters and downspouts, and a gutter guard that actually keeps needles out. A gutter packed with dry pine needles under a roof edge is the most reliable ignition point on a house.
- Skylights with tempered glass, not acrylic domes.
Vents are the second front door
Attic and crawlspace vents are, functionally, holes into the combustible parts of your house. Embers find them.
- Use ember- and flame-resistant vents tested to ASTM E2886 where available. They are widely manufactured now and the price difference is modest.
- Where standard vents are used, screen with 1/16-inch to 1/8-inch corrosion-resistant metal mesh — never plastic or fiberglass. Quarter-inch mesh, still common on older homes, passes embers freely.
- Avoid vents in soffits and eaves where possible. Ridge-and-gable ventilation strategies keep the intakes away from the point where heat and embers concentrate.
- Screen or baffle dryer, bath fan and range hood exterior terminations as well.
Enclose the eaves
Open eaves with exposed rafter tails create a heat trap: rising heat and embers collect under the overhang and directly contact framing. Boxed (soffited) eaves with non-combustible or ignition-resistant soffit material eliminate that pocket.
If the architecture calls for exposed rafter tails, use heavy-timber sections — dimensional mass resists ignition far better than nominal 2x material — and keep the underside sheathed.
Exterior walls and the lower five feet
Full non-combustible cladding — fiber cement, stucco, masonry, or metal — is the strongest option. But if you want wood or composite siding for the look, concentrate the protection where it matters:
- Non-combustible material for the bottom 6 feet of wall, especially anywhere a deck, fence or planting bed meets the house. Most wall ignitions start low.
- No gaps at the base of siding. Ember intrusion behind cladding is a common failure.
- Fire-resistant sheathing or a gypsum-based sheathing layer behind siding on exposed elevations.
Windows and doors
Glass fails from radiant heat long before the wall does, and once a window breaks, embers are inside the house.
- Dual-pane with tempered glass on at least the exterior lite. Tempered glass withstands substantially more radiant heat before failure. On the most exposed elevations, tempered both lites.
- Smaller panes survive better than large ones on high-exposure walls.
- Non-combustible or ignition-resistant frames, or at minimum metal-clad.
- Solid-core exterior doors with weatherstripping that seals. Garage doors need good bottom seals — the garage is a frequent entry point.
Decks, fences, and attachments
Attachments are how fire reaches the structure.
- Non-combustible or fire-rated decking within 10 feet of the house, with the underside enclosed or screened so debris cannot accumulate and embers cannot lodge.
- Never attach a wood fence directly to the house. Use a metal or masonry section for the final 5 feet. A wood fence is a fuse leading straight to your siding.
- Keep firewood, propane tanks, and stored lumber at least 30 feet away, never under a deck.
Zone 0: the first five feet
The most effective five feet on the entire property, and the cheapest.
Within 5 feet of the foundation: nothing combustible. No bark mulch, no juniper, no arborvitae, no wood chips, no stacked firewood, no plastic bins. Use gravel, decomposed granite, pavers, or bare mineral soil. Irrigated, low-growing, well-spaced plants at the outer edge if you want green.
Then outward:
- Zone 1 (5–30 ft): irrigated and maintained. Trees limbed up 6–10 feet, spaced so canopies do not touch. No ladder fuels connecting ground to canopy.
- Zone 2 (30–100 ft): thinned. Remove dead material, break up continuous fuel, space trees 10+ feet apart.
The National Fire Protection Association's Firewise USA program and Washington DNR both publish detailed zone guidance for Eastern Washington fuel types, and Spokane County periodically runs chipping and fuel-reduction programs.
What this actually costs
This is the part that surprises people. On a new build, a comprehensive ignition-resistant package typically adds 3–7% to the structure cost — and a meaningful share of that is code-required in the wildland-urban interface anyway.
Rough order of value per dollar:
- Ember-resistant vents and fine metal screening — a few hundred dollars, enormous impact
- Zone 0 clearance — mostly labour and gravel
- Class A roof with sealed edges and clean gutters — often no premium over what you were already buying
- Boxed eaves — modest
- Non-combustible lower wall — moderate
- Tempered glazing throughout — moderate
- Full non-combustible cladding — the largest line, and the most optional
If budget is tight, do them in that order. The cheap items are the effective ones.
It is also an insurance conversation
Insurers in fire-prone areas increasingly underwrite on construction characteristics, not just location. A Class A roof, ember-resistant vents, non-combustible cladding, and documented defensible space can affect availability and pricing — and in some markets, insurability. Ask your agent what your carrier credits before you finalize the specification, and keep documentation of what you built.
Build back better, not just back
Nobody rebuilding after August 2026 needs convincing that this matters. The point is that the measures that work are unglamorous, mostly inexpensive, and completely compatible with a beautiful home. Nothing here requires living in a concrete bunker.
We build ignition-resistant details into every home we put up in the wildland-urban interface around Spokane, Coeur d'Alene, and Sandpoint. If you want to talk through what makes sense for your specific lot, exposure, and budget, get in touch — or read more about our custom build process.